Authentic Brazilian Chicken Coxinha Recipe
This Authentic Brazilian Chicken Coxinha recipe is the perfect snack food. It is also a great dinner that you can make ahead of time and keep in the freezer. Made with chicken, a special pastry dough, and cream cheese–you can’t go wrong with this finger food.
This post may contain affiliate links. As an Amazon associate, I earn from qualifying purchases, at no extra cost to you. Thank you for supporting the blog in this way!
EAT YOUR WAY AROUND THE WORLD
What if you could travel around the world in your mouth?
Uh, maybe a better way to say that is “What if you could travel around the world through food?”
My stomach, for one, is already on board.
This week, I am joining the challenge #aroundtheworldin8foods. Several other blogging friends and I are each sharing some of our favorite international foods this week.
If you are stuck at home due to the global pandemic (this is 2022 as I am writing this) or if you (hello, future self!) are getting ready for your own international trips or returning from one and want to experience another culture through their cuisine, this is your week to do so! My friends and I are covering some amazing world cuisines: Thai, Mexican, Ethiopian, Brazilian, Dutch, and more!
HOW TO GET FREE PRINTABLE WATERCOLOR RECIPE CARDS
Each of my blogging friends and I are offering a FREE printable watercolor recipe card along with our international recipes as part of the “Around the World in 8 Days” / “Around the World in 8 Foods” challenge. Each card features a watercolor painting of an international landmark. You can collect all the cards by visiting each of our blogs.
Here are the links to help you on your scavenger hunt:
Mexican – Keeper Of Our Home
Thai – Harbor Home
Dutch/Frisian – Brambleberry Meadow
Arabic / Middle-Eastern – Flower in the Weeds
Spanish – Road to Health and Healing
Ethiopian – Happy Homeschool Adventures
French – Rainie Robinson
Brazilian – My Home Your Home Our Home

WHAT IS A POPULAR SNACK IN BRAZIL?
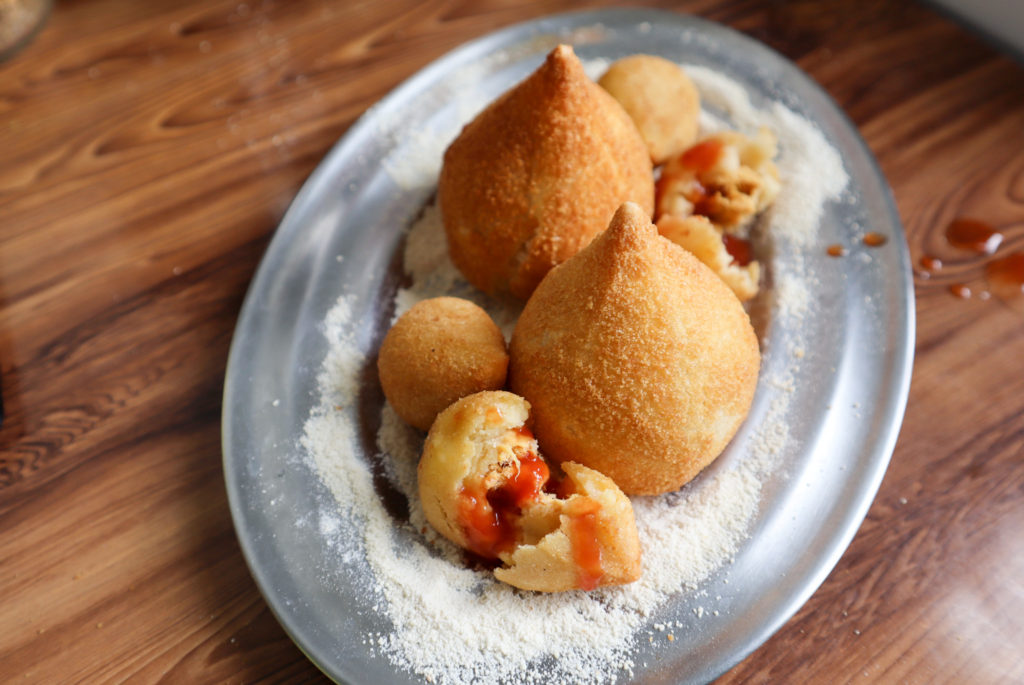
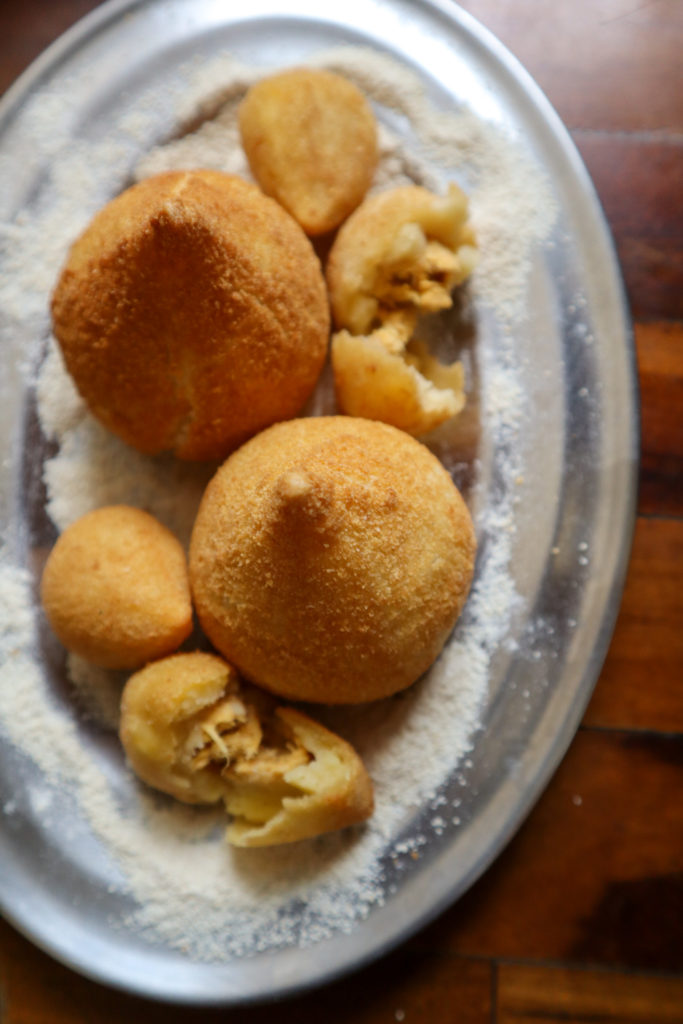
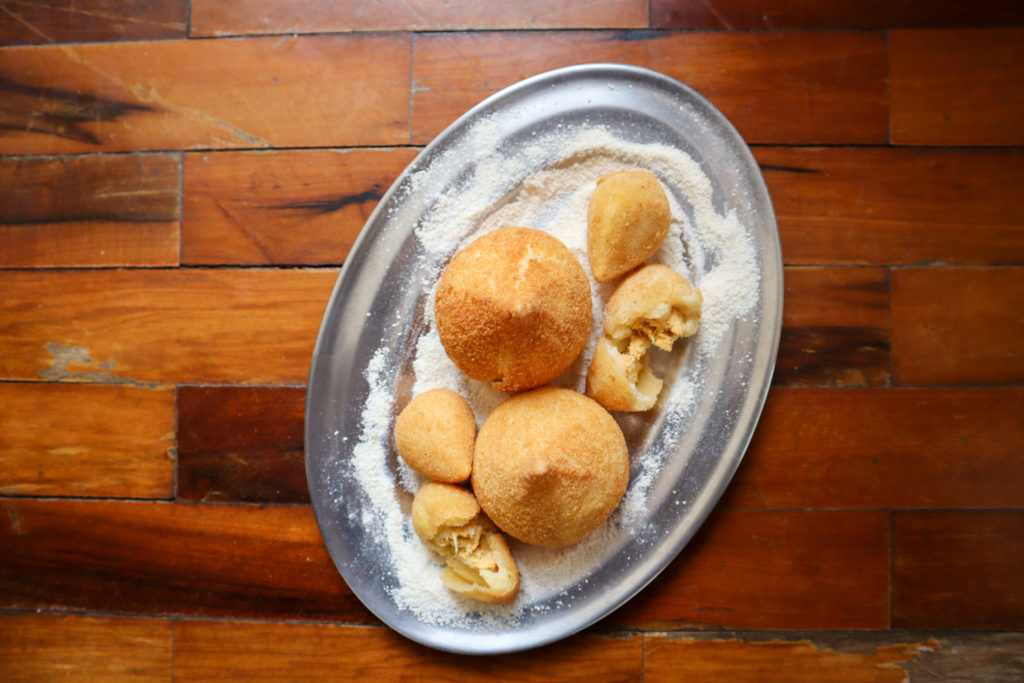
No list of Brazilian recipes would be complete without the famous coxinha (pronounced koe-sheen-yuh).
Sold in gas stations, bakeries, and snack shops, these little chicken pastries are ubiquitous in Brazil.
I truly believe that if Americans were to try them, then coxinha would become just as popular in the USA as it is in Brazil.
THE SECRET TO AUTHENTIC BRAZILIAN CHICKEN COXINHA RECIPE: THE DOUGH
One of the most interesting things to me about coxinha is the dough. It is pre-cooked before assembling the pastries, and its texture is unlike about any other pastry I have ever tried–crispy on the outside and sticky on the inside.
Making the dough can be rather a tricky business. (If you have already read my post about pastel, you are probably beginning to notice a pattern with Brazilian pastry shells: They are not super easy.) Thankfully, it is not impossible.
Every time I heard someone describe how to cook the dough, my eyes glazed over. When I actually tried making it myself, though, I found–to my relief–that the actual process was not as bad as it sounded.
The secret to making the dough is to stir constantly. It takes about the same amount of care as taffy and other homemade candies.
I have cheated and skipped cooking the dough. I heated up the broth and milk together and then removed them from the burner to add the flour. That was not the best choice. I tried correcting my mistake by returning the dough to the heat and cooking it a little bit. It was not the same, but I learned through this experience that the dough is actually (in my experience at least) more resilient than I would have expected.
Hopefully that short story encourages you that the dough for coxinha is not supposed to be intimidating.
HOW TO MAKE AUTHENTIC BRAZILIAN CHICKEN COXINHA (THE ONLY COXINHA RECIPE YOU NEED!)
Making coxinha can be a rather involved process. It is great to have a few extra hands to help in the kitchen. If no one is available to aid you, no worries, though. I have singlehandedly whipped up a batch of coxinha in under an hour’s time.
For successful coxinha, you will want to pay careful attention to the dough (as noted in the section above).
You might also want to play around a bit with the chicken filling. I have included some optional variations on the filling in the notes section of the recipe below. Coxinha is flexible, and I have tasted multiple versions of it in Brazil.
HOW TO SERVE AND STORE COXINHA
Coxinha is not the easiest snack (unless you keep it in the freezer), but it is hearty and delicious. In addition to being a great finger food, coxinha is also a good main dish, and I have definitely served it that way.
If you want to make coxinha for a special event but do not have time immediately before, you can freeze it. Coxinha is just as good frozen, thawed, and fried as it is fried immediately after assembly. (Thank goodness for that!) Just make sure to thaw the dough completely before frying it. Otherwise, the shell will be hot, but the inside dough will stk be cold. And believe me as I speak from experience: you do not want that.
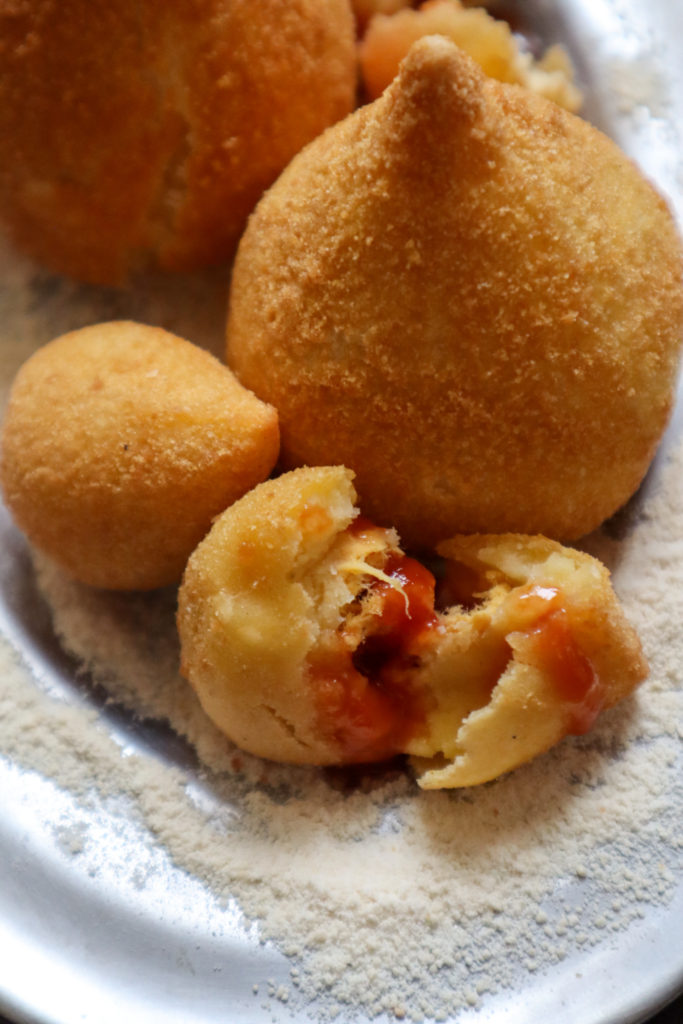
Traditionally, coxinha is served with a variety of condiments–mustard, ketchup, and mayonnaise being the most common. I highly recommend eating it with mayonnaise.
TOOLS YOU WILL NEED TO MAKE THIS COXINHA RECIPE


CLOSING THOUGHTS
I am so excited for trying new recipes this week! Are you?!?
What is your favorite international cuisine? Share in the comments below!
And when you make your international recipes this week, be sure to tag me on Instagram (@myhome.yourhome.ourhome) so I can see! Use the hashtags #aroundtheworldin8foods and #aroundtheworldin8days.
I will see you there!
Happy traveling!


Authentic Brazilian Coxinha
Ingredients
- 1 large chicken breast
- oil for frying and deep frying
- 1 cube chicken bouillon
- 2 1/2 cups water
- 1 tsp salt
- ground black pepper to taste
- 4 oz cream cheese – or – 1/2 cup sour cream
- 2 garlic cloves, minced – or – 2 tsp garlic powder
- 1/2 onion, minced – or – 1 tsp onion powder
- 2 Tbsp minced green onion
- 1 tsp ground black pepper
- 1 Tbsp tomato paste (or ketchup)
- 1 tsp fresh parsley, minced (optional)
- 1 tsp sweet paprika (optional)
- 1/2 cup shredded mozzarella cheese
Pastry Shell:
- 2 Tbsp salted butter
- 1/2 tsp chicken bouillon
- 1 cup milk + more for dredging
- 2 cups chicken broth (reserved from the filling)
- 2 1/2 cups all-purpose flour + more flour to dust hands
Assembly:
- 1 cup fine, plain breadcrumbs
- 1/2 cup milk
Instructions
FILLING
- In a saucepan, add water, the chicken breast, chicken bouillon, and a dash of salt. Boil the chicken until cooked through. Remove from the heat. Reserve 2 cups of the broth. Remove the chicken from the pan and shred it finely. (An easy way to do this is to use a stand mixer and simply mix the chicken until it is well shredded.) Sauté the onion and garlic in a pan and add the chicken after about a minute. Cook just until the onion and garlic are soft and fragrant. Remove from the heat. Add the green onion, salt, pepper, paprika, parsley, tomato paste, shredded mozzarella cheese, and cream cheese and mix until well combined. Set aside.
PASTRY SHELL
- In the saucepan, mix together the 2 cups of reserved chicken broth, chicken bouillon, butter, and 1 cup of milk. Bring to a boil. Slowly pour in the flour, a little at a time, stirring constantly with a whisk at the beginning and a wooden spoon after it begins to form a dough. Make sure it is mixed thoroughly. Cook on the stove, stirring constantly, until it begins to separate from the bottom of the pan. (This is a common Brazilian way of cooking and measuring when food is "done": Drag a spoon across the bottom of the pan; if you can see the bottom and the dough holds most of its shape without running quickly to cover the exposed pan, it is done. This usually takes about 2 minutes for me.) Remove from the heat. Allow to cool slightly, just until you can handle the dough without scorching your hands.
ASSEMBLY
- Pour the 1/2 cup of milk in a bowl. Pour the breadcrumbs in another bowl. Set aside.
- When the dough is cool enough to handle, dust your hands and fashion it into balls. For large coxinha, make about 8-10 balls. For smaller coxinha, make about 15-18 balls. (My dough balls look more like lumps. The idea is just to portion out the dough evenly. 😉 If this is your first time making coxinha, I recommend making larger balls of dough, as they will be easier to handle.) The dough might still be sticky, so use a generous amount of flour on your hands.
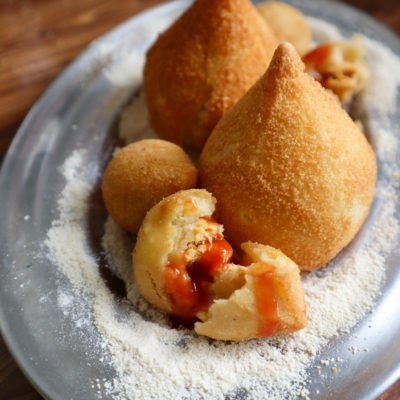
- Once the dough is measured out, take each piece one-by-one and make the coxinha. To assemble the coxinha, flatten the dough ball in one palm. The dough should still be thick enough that it will not easily snag or open up (about ½ inch or so in thickness). Put about 1-2 Tbsp of chicken filling inside (depending on the size of the dough ball and how much it can hold). Fold the sides of the dough around the chicken filling and pull the sides together at the top, making the signature spire (which looks a lot like a kewpie baby's hair). If the spire does not hold its shape well, no worries. It will still taste just as good. IMPORTANT: Make sure that there are no holes or gaps in the pastry shell, as this will cause the filling to leak out into the oil while frying and also affect the taste of the filling because oil will get inside.
- Roll the coxinha ball in the bowl of milk, turning to moisten all sides, and then roll it in the bowl of breadcrumbs, likewise coating all sides. Repeat for all the other coxinha.
- To fry the coxinha, heat up about 2 cups of oil over medium heat in a deep pan to 120 F, or just until beginning to show ripples on the surface. (I have found that using a pan of small circumference and great depth helps me save some oil.) Add the coxinha. Fry on each side just until beginning to brown. This should take about 2-3 minutes. If you find that your coxinha are browning rather quickly, reduce the heat. When golden brown on all sides, remove the coxinha to a paper-towel-lined dish to drain the oil. (Please note that the dough inside of the fried shell will still be a bit doughy. That is normal and is exactly how Brazilians cook it, and it tastes delicious.)
- Serve hot with ketchup and mayonnaise for dipping. (Take my word for it: Mayonnaise is ideal for dipping coxinha. Just give it a try!)